CREATEGOOGLESLIDE formula
Lido's =CREATEGOOGLESLIDE() formula lets you build a PDF document by merging your spreadsheet data into a Google Docs template, which is then exported into the final PDF.
=CREATEGOOGLESLIDE(credential, template_link, new_file_name, output_cell, [make_public])
1. Create a Google Slide template
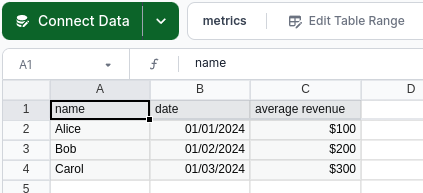
First, note the data columns you would like to include in your template. In this example, we'll use all three, but you can use any number of them.
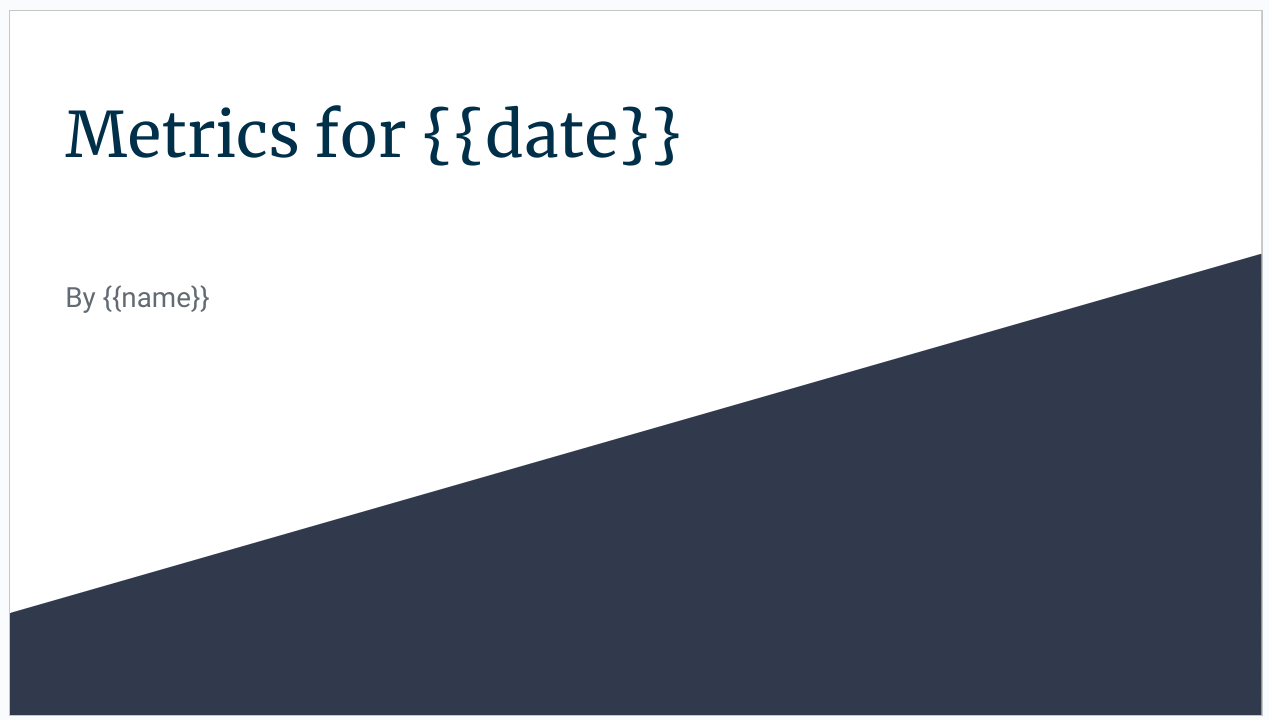
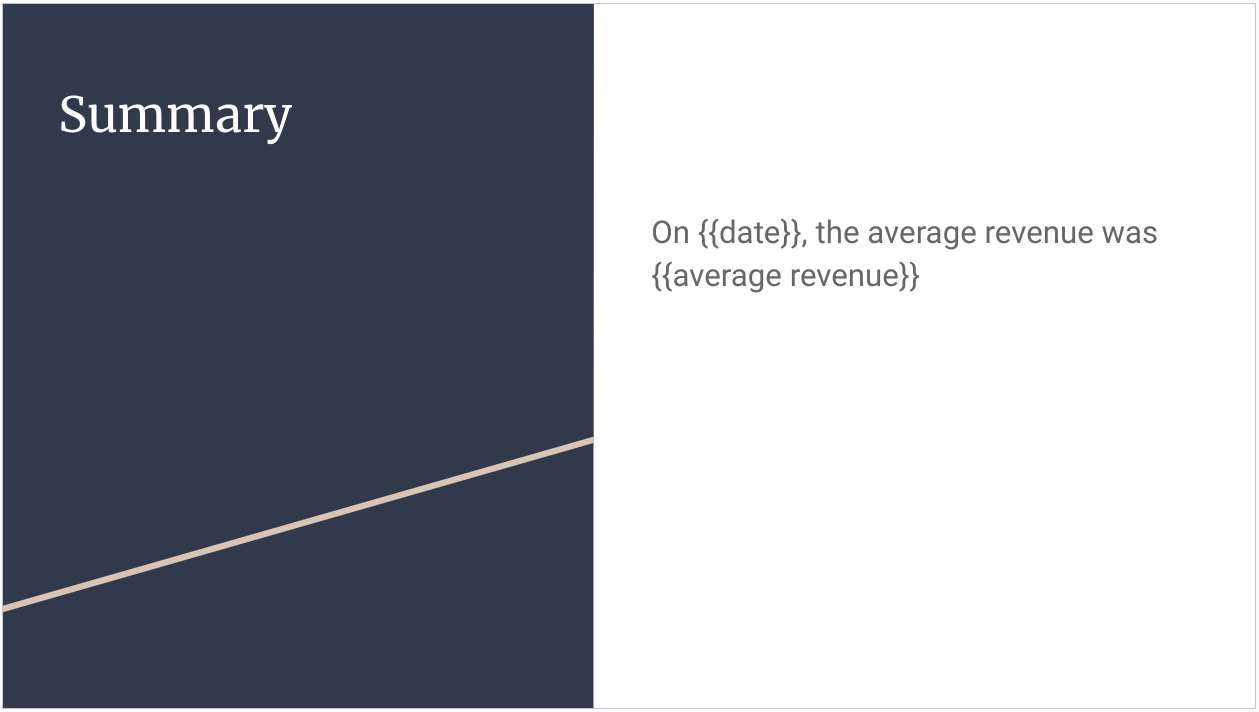
Now, create a template file in your Google Docs account. This should be the account you want to host the final presentation file. Note that it cannot be saved as a .pptx file: it must be a native Google Slides file. For the text columns that we want to insert, enter {{column name}} in all the places you want that data to show up. It can be in as many places as you want. The [@column name]notation, familiar from STRINGTEMPLATE, works here as well.
2. Setting up the CREATEGOOGLESLIDE formula
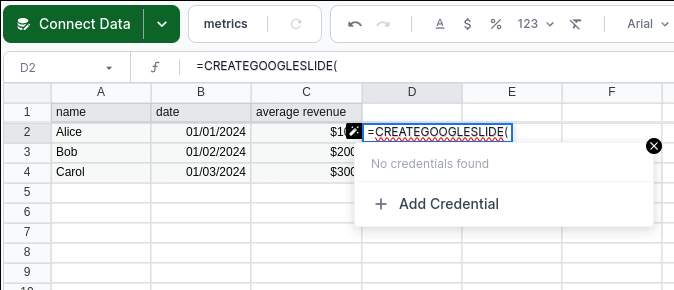
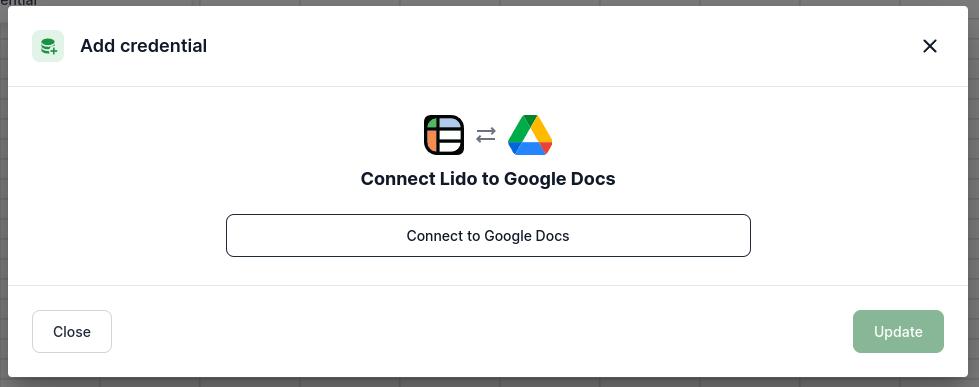
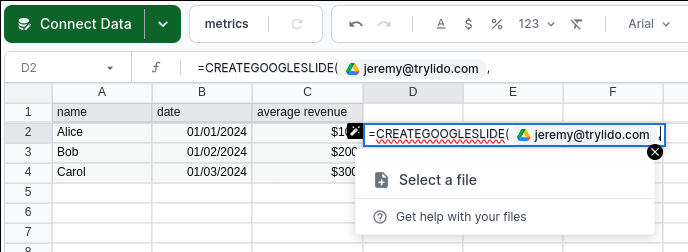
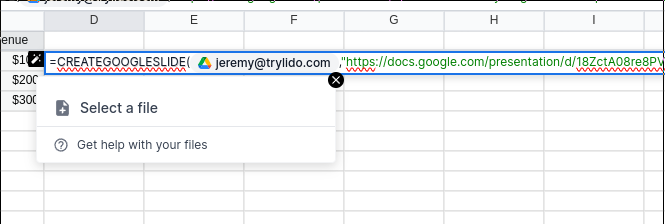
Now you're ready to start with CREATEGOOGLESLIDE. Start your new CREATEGOOGLESLIDE Computed Column by selecting a cell directly to the right of your table and typing =CREATEGOOGLESLIDE(. If you don't have a Drive credential set up in Lido already, you can create one right now by clicking the "Add Credential" button and completing the authentication flow.
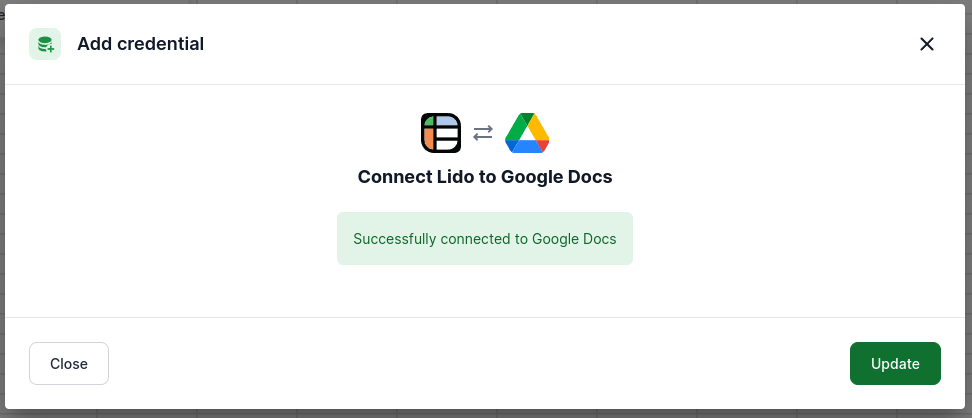
Once you have created a Drive credential, it will be placed into CREATEGOOGLESLIDE as the first argument.
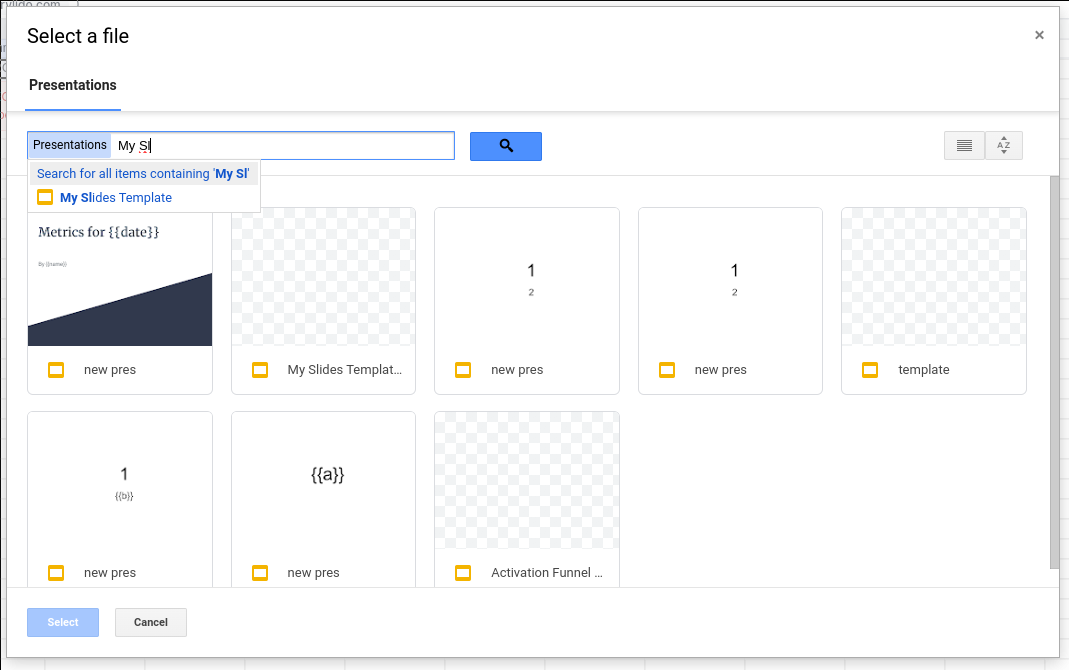
The next argument is the link to the template you want to use. Lido's dropdown suggestions make it easy to find and select your Google Slide template using the Google File Picker. Once you type a comma after the Credential argument, you will be prompted to select a file. Click the button, and either browse for your template file, or search for the name using the box at the top of the pop-up.
We only have two more required arguments to CREATEGOOGLESLIDE: the new file name for your file, and the output cell. The former can be whatever you would like (and can even come from another Computed Column). The output cell is where CREATEGOOGLESLIDE will place the link to the finished PDF file after it has been created in your Google Drive. If there is an error, it will instead output error information to this cell. We're about to create a Linked Column to the right of the CREATEGOOGLESLIDE column to store these output values; for now, just enter the cell directly to the right of your CREATEGOOGLESLIDE formula (in our example, that's E2). Our CREATEGOOGLESLIDE formula now looks like this:
=CREATEGOOGLESLIDE(<Google Drive Credential>, "https://docs.google.com/presentation/d/id...", "New File Name", E2
If you want the output PDF to be publicly-accessible with the link, then you can hit Enter and submit the formula. If not, you can enter false for the optional make_public argument.
Finally, we want to add a Linked Column to hold the status values. Mouse over the right of your table, select the add column icon, and select "Add Linked Column". Select the ID column you would like and hit "Save".
That's it! Your CREATEGOOGLESLIDE formula is now ready to use.
To try it out, right-click on one of the CREATEGOOGLESLIDE cells and click "Run action". If everything worked, you should see success appear in the Linked Column next to the formula you ran, and a PDF file with the name you set should appear in your Google Drive, with the link pasted in the adjacent Linked Column cell. Otherwise, you will see an error appear. Once the error has been fixed, try running the formula again to test it out.
Updated 2 months ago